NowSmart Audio Recorder records lectures, meetings, voice messages, singing, and audiobooks from a USB microphone or headset. Three optional features help:
- VAS, the built-in silence detector, skips silent sections automatically.
- Noise Suppression reduces background noise.
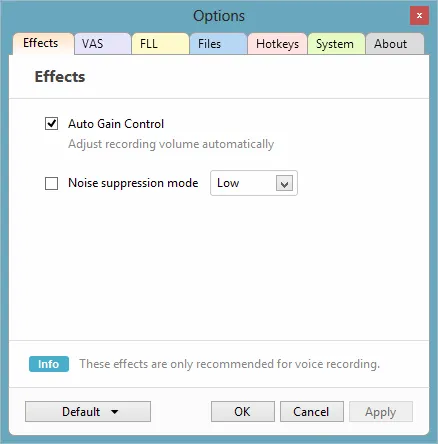
- Auto Gain Control adjusts the recording level for consistent volume.
Step 1: Plug in the microphone or headset
Plug the USB microphone or headset into a USB port on your computer.
Step 2: Select the audio source
If the microphone is the default recording device in Windows, choose Voice as the source.
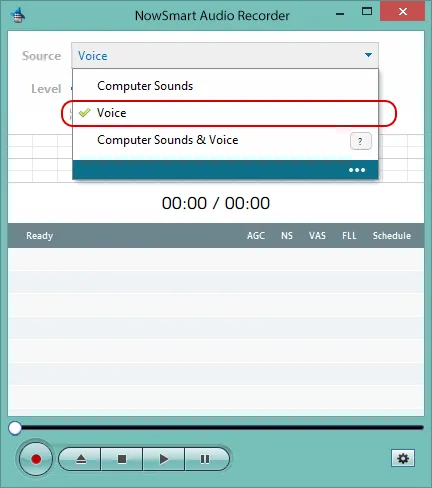
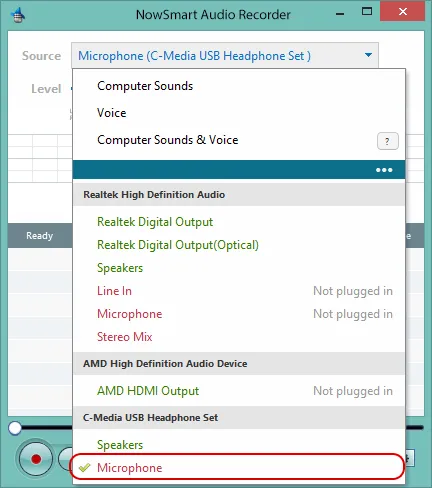
If it is not, switch to Advanced mode and select the microphone. A USB microphone or headset has its own sound card; in this example it appears as C-Media USB Headphone Set, so choose Microphone under C-Media USB Headphone Set.
Step 3: Name your audio file (optional)
Click Add/New to select an audio file or to name a new one, such as test.mp3, test.wav, or test.flac.

NowSmart Audio Recorder saves the recording directly to this file. You can play the recording in NowSmart Audio Recorder or in any media player.
Step 4: Start recording
Press Record to start.

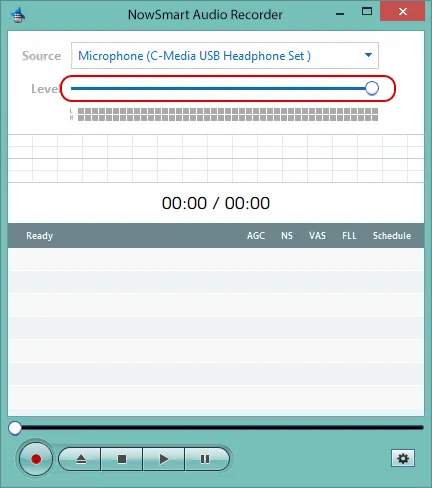
Adjust the recording level as needed.
Step 5: Improve the recording (optional)
Open Options.
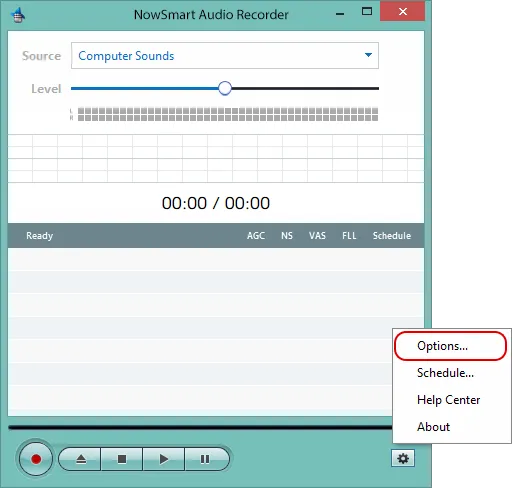
Enable Auto Gain Control and Noise Suppression as needed.
Related articles
Still need help? Browse all NowSmart Audio Recorder articles or contact support.
Start with the free version
The free version of NowSmart Audio Recorder records up to 5 minutes per file. NowSmart Audio Recorder Pro removes the limit and adds Trim for a one-time USD 9.99.